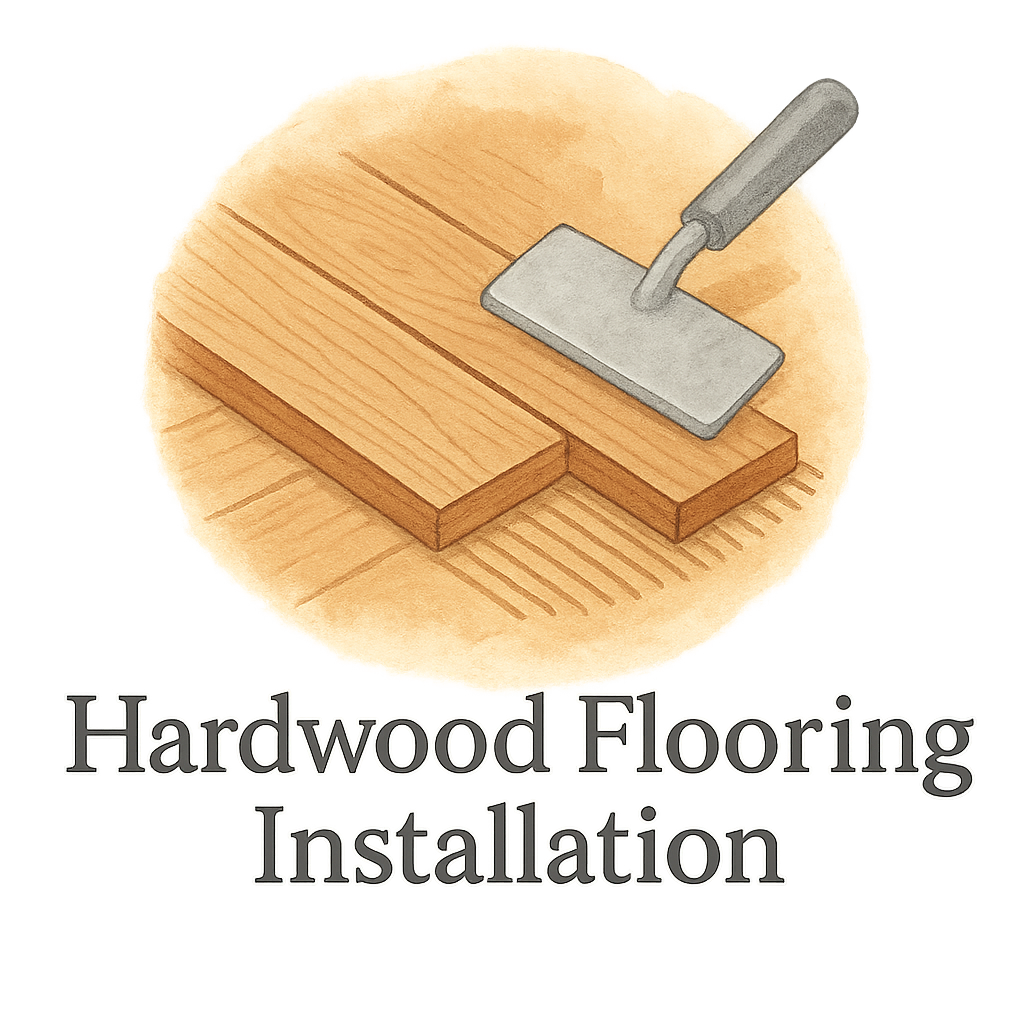

Installing hardwood flooring doesn’t have to be a back-breaking, week-long endeavor. With the right power tools, you can dramatically speed up the process, improve precision, and get professional-level results—without the professional price tag.
So let’s dive into the 7 power tools that can supercharge your hardwood flooring installation and save you from endless hours of frustration.
Why Power Tools Matter in Hardwood Flooring
Save Time, Save Effort
Imagine swinging a hammer 1,200 times a day just to nail down flooring. Tiring, right? Power tools take the grunt work out of the job so you can focus on the finish.
Professional Results at Home
Not only do these tools make your job easier, but they also help you get that crisp, clean, professional look—something manual tools often fall short of.
Looking to DIY? Check out our guide to DIY Flooring Installation for a deep dive.
Tool #1: Flooring Nailer – Your Best Friend
A flooring nailer (also known as a floor stapler) is the essential tool for hardwood floor installation. It allows you to drive nails or staples into tongue-and-groove planks with speed and accuracy.
Manual vs Pneumatic Nailer
Manual nailers are muscle-powered, while pneumatic ones use air pressure. Go pneumatic if you want speed and minimal effort. The choice can literally cut your work time in half.
Looking for more on flooring prep? Visit our Flooring Preparation page.
Tips for Safe Use
- Always wear safety goggles.
- Test on scrap wood to avoid splitting.
- Maintain consistent pressure for a tight fit.
Tool #2: Power Saw – The Precision Cutter
Hardwood planks need cutting—lots of it. A power saw helps you slice boards quickly and accurately.
Miter Saw vs Table Saw
- Miter Saw: Best for angled cuts and trim.
- Table Saw: Ideal for long, straight rips.
Want pro-level cuts every time? Use both.
Choosing the Right Blade
A fine-tooth carbide blade works best for hardwood. It minimizes splintering and leaves a smoother finish.
Check out our Flooring Tools & Materials guide to pick the right equipment.
Tool #3: Jamb Saw – Fit Like a Pro
Ever tried squeezing a board under a door frame with a hand saw? Painful.
A jamb saw solves this. It cuts door casings and trims at floor level so you can slide planks under neatly, just like the pros do.

Explore more Flooring Mistakes you can avoid by using the right tools.
Tool #4: Moisture Meter – No Surprises Later
Skipping this step is like building a house on sand.
Moisture in your subfloor or hardwood can cause warping, gaps, or worse.
Why Moisture Levels Matter
- Subfloors should be under 12% moisture.
- Acclimate hardwood for at least 48 hours.
- Check both the wood and subfloor to avoid future damage.
Read more on Flooring Cost & Time Estimation to avoid costly surprises.
Tool #5: Oscillating Multi-Tool – The Versatile Workhorse
If MacGyver had one tool, it would be this. The oscillating multi-tool can:
- Trim under door frames
- Sand corners
- Scrape up glue
- Even cut baseboards
What It Can Do for Flooring
This tool shines in tight spaces and finish work. Keep a variety of attachments handy—you’ll thank yourself later.
Find more Tips and hacks from flooring experts.
Tool #6: Floor Sander – Smooth It Out
Got rough spots or uneven boards? A floor sander is your fix. Even if you’re using prefinished hardwood, sanding edges can help transitions blend better.
Edge vs Drum Sanders
- Drum Sander: Best for full-room sanding.
- Edge Sander: Tackles corners and edges the drum can’t reach.
More details on maintaining your floors at Flooring Maintenance & Repair.
Tool #7: Shop Vacuum – Clean Workspace, Fast Finish
Wood dust is no joke. It clogs up grooves, interferes with adhesion, and is downright messy.
Dust Is the Enemy
A good shop vac keeps your workspace clean and your lungs happier. Attach it to your saws and sander to vacuum as you go.
Need info on how to keep floors pristine? Explore our Cleaning tag library.
Safety First: Don’t Skip This Part
You’re using heavy-duty tools—treat them with respect.
Basic Safety Tips While Using Power Tools
- Use hearing protection
- Wear gloves and goggles
- Keep your workspace clear of cords and clutter
- Take breaks—fatigue leads to mistakes
For planning ahead, visit Flooring Contractor Plan of BS.
Essential Accessories and Materials
What else should be in your toolkit?
What Else Should Be in Your Toolkit?
- Knee pads
- Measuring tape
- Chalk line
- Spacers
- Level
- Underlayment (very important!)
Explore our Underlayment Guide for choosing the right base layer for your hardwood.
Pro Tips to Speed Up Hardwood Installation
Prep, Layout, and Planning
Planning your layout is just as important as the tools you use. Here’s what to do:
- Measure twice, cut once
- Dry-fit rows before nailing
- Use a chalk line for alignment
- Start from the most visible wall and work outwards
Visit our Planning and Layout tags for expert layouts.
Conclusion
Speeding up your hardwood flooring installation isn’t about rushing—it’s about working smarter. With these 7 power tools, not only will your job go faster, but the final result will look polished and professional. Whether you’re a seasoned DIYer or a first-timer, having the right tools on hand makes all the difference.
Start with a solid plan, use the tools above, and don’t forget to prep your space. For more tips, resources, and tools, explore the entire Flooring Contractor Plan of BS site.
FAQs
1. Can I install hardwood flooring without power tools?
Yes, but it will be much slower and harder. Power tools save time and improve quality.
2. What’s the best power tool for beginners?
A flooring nailer is the easiest and most rewarding tool for DIY hardwood projects.
3. Do I need a moisture meter if I bought prefinished wood?
Absolutely. Moisture issues can affect any hardwood, finished or not.
4. Is renting tools better than buying?
For one-time jobs, renting makes sense. But if you plan on more DIY, investing in good tools pays off.
5. How do I keep my tools in good shape?
Clean them after every use, store them properly, and sharpen blades regularly.
6. Which tool helps most with corners and tight spots?
The oscillating multi-tool is your go-to for tricky edges and detailed work.
7. Where can I find a checklist of all tools and materials?
Right here: Flooring Tools & Materials