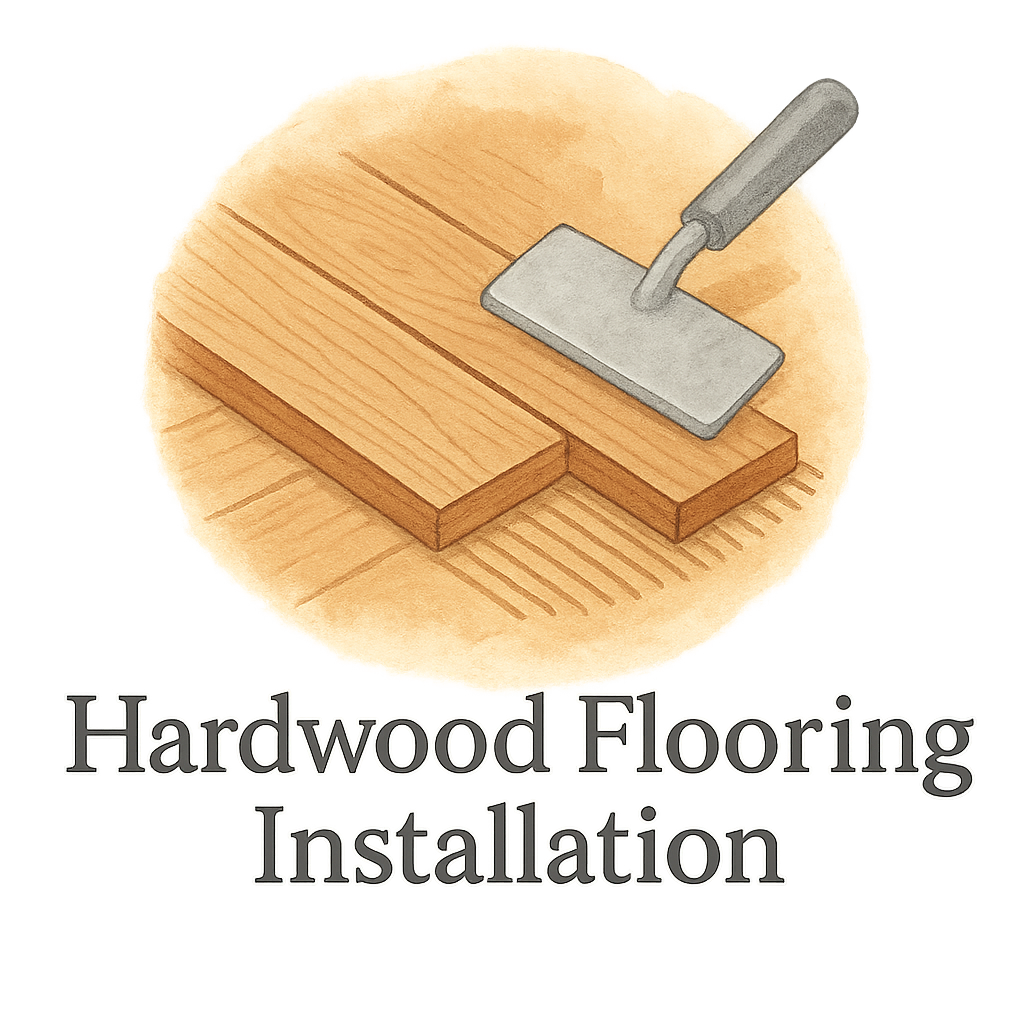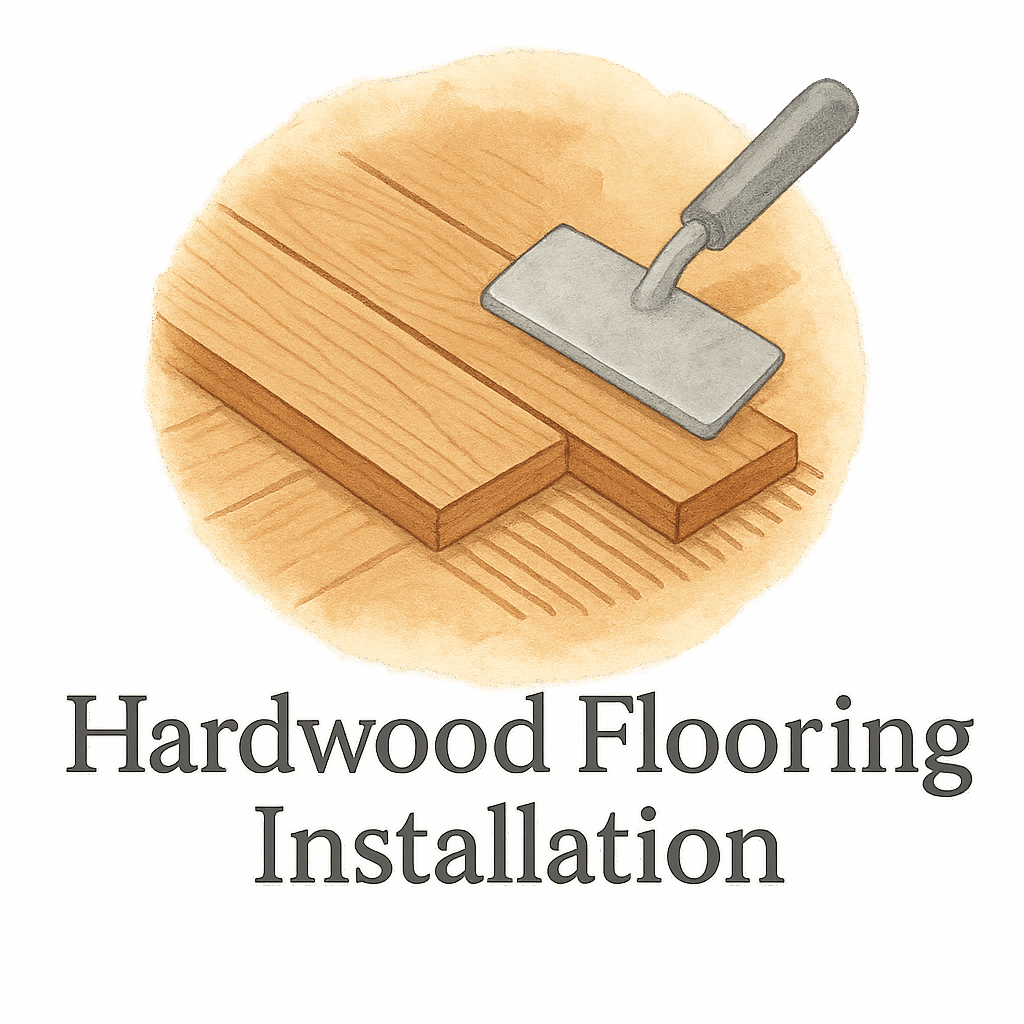

Introduction to DIY Hardwood Flooring
Thinking of upgrading your floors and considering doing it yourself? DIY hardwood flooring installation is not just doable—it’s a rewarding home improvement project that adds serious value and charm to your home. But let’s be honest, it comes with a learning curve. If you’ve ever Googled questions about it, you’re not alone. That’s exactly why we’ve compiled the top 7 FAQs about DIY hardwood flooring installation to guide you through the process like a pro.
This guide also includes key resources from Flooring Contractor Plano FBS—your go-to hub for everything flooring.
Why Choose DIY Hardwood Flooring?
Cost Savings and Flexibility
DIY flooring projects are budget-friendly. You save hundreds, if not thousands, in labor costs. More importantly, you get to work at your own pace, which is perfect for busy homeowners juggling multiple tasks.
Customization and Control
Doing it yourself means you call the shots—from the type of hardwood to the pattern and direction of planks. Check out this DIY Flooring Installation Guide for detailed steps and pro tips.
Understanding the Basics Before You Start
Tools and Materials Needed
Before jumping in, make sure your toolbox is stocked. You’ll find a complete list in the Flooring Tools & Materials section.
Measuring Tools
- Tape measure
- Chalk line
- Carpenter’s square
Cutting Tools
- Circular saw
- Jigsaw (for corners)
- Miter saw
Adhesives and Fasteners
- Nail gun
- Wood glue
- Floor staples or cleats (depending on method)
FAQ 1: Can I Install Hardwood Floors Myself?
Skill Level and Preparation
Yes, you absolutely can—especially if you’re comfortable with tools and patient with measurements. Beginners should start with click-lock engineered hardwood, which is more forgiving.
Need help planning? Use the Flooring Preparation guide to get your space ready.
Common Mistakes to Avoid
- Not letting the wood acclimate
- Skipping moisture barrier
- Failing to stagger plank joints
Avoid these common DIY mistakes to ensure a pro-level finish.
FAQ 2: What Are the Best Tools for DIY Hardwood Installation?
Must-Have Tools for a Smooth Install
- Pry bar
- Rubber mallet
- Tapping block
- Spacers
Tools That Make the Job Easier
- Floor nailer (manual or pneumatic)
- Shop vacuum
- Knee pads (trust us—you’ll thank yourself)
Want expert suggestions? Browse the Best Flooring Tools Tag for recommendations.
FAQ 3: How Do I Prepare My Subfloor for Installation?
Subfloor Inspection
A solid subfloor is the foundation of your flooring’s lifespan. Inspect for squeaks, dips, and moisture. If you find damage, consult our Damage Tag Section for repair ideas.
Leveling and Cleaning Tips
- Fill gaps with compound
- Sand high spots
- Vacuum thoroughly
Read more in our Flooring Prep articles.

FAQ 4: Should I Use Glue, Nails, or Click-Lock Systems?
Pros and Cons of Each Method
Nails/Staples
- Permanent and solid
- Requires special tools
Glue
- Good for concrete subfloors
- Messy but strong hold
Click-Lock
- Ideal for beginners
- Floating design (easier to repair)
Need help deciding? Check out this detailed Flooring Installation Guide.
FAQ 5: How Do I Handle Tricky Areas Like Doorways and Corners?
Transition Strips and Custom Cuts
Doorways and corners are where most DIYers struggle. Use a jigsaw for curves and tight corners, and transition strips to bridge different flooring types.
Our expert Tips section covers this in more detail.
FAQ 6: How Long Does It Take to Install Hardwood Flooring?
Time Estimates for Different Room Sizes
- Small rooms (10×10 ft): 1-2 days
- Medium (12×15 ft): 2-3 days
- Large open spaces: up to a week
Use our Flooring Cost & Time Estimation Tool to budget time and expenses.
Tips to Speed Up the Process
- Pre-cut planks before installation
- Work with a partner
- Lay out rows beforehand
FAQ 7: How Do I Maintain Hardwood Flooring After Installation?
Daily and Weekly Maintenance Routines
Use a soft-bristle broom and avoid excessive water. Add floor protectors to furniture and clean spills immediately.
Our Cleaning Tag has tons of safe cleaning techniques.
Repair Tips for Scratches and Damage
- Use wood filler pens
- Recoat high-traffic areas annually
- Replace damaged planks if necessary
Get repair solutions in our Maintenance & Repair hub.
Final Thoughts: Is DIY Hardwood Flooring Worth It?
Absolutely. If you’re ready to put in the time and effort, DIY hardwood flooring can be deeply satisfying—not to mention cost-effective. It gives you full creative control and teaches you a valuable skill. But preparation is key. Use resources like Flooring Contractor Plano FBS for step-by-step guides, cost breakdowns, and expert advice.
Conclusion
So, are you ready to roll up your sleeves and take on the challenge? DIY hardwood flooring installation may seem intimidating at first, but with the right tools, knowledge, and a bit of patience, you’ll end up with floors you’ll be proud of for years. Whether you’re planning your layout, preparing your subfloor, or choosing the best materials, resources like Flooring Contractor Plano FBS are here to support you at every step. Happy flooring!
FAQs (Summary)
1. Is it hard to install hardwood floors by yourself?
Not if you’re well-prepared! It’s very doable for motivated homeowners.
2. What tools are essential for DIY flooring?
Tape measure, saws, nailer, spacers, rubber mallet—and patience.
3. How should I prep the floor before installing hardwood?
Clean, level, dry, and inspect the subfloor before starting.
4. Which is better: glue, nails, or click-lock?
Each has its pros. Beginners love click-lock; pros often prefer nails.
5. How do I manage edges and corners?
Use a jigsaw for corners and transition strips at thresholds.
6. How long does it really take?
Small rooms = 1-2 days. Larger spaces = up to 7 days.
7. What’s the best way to care for my hardwood floors?
Keep them dry, sweep often, and repair scratches quickly.
For more guides and flooring answers, visit our FAQs section.