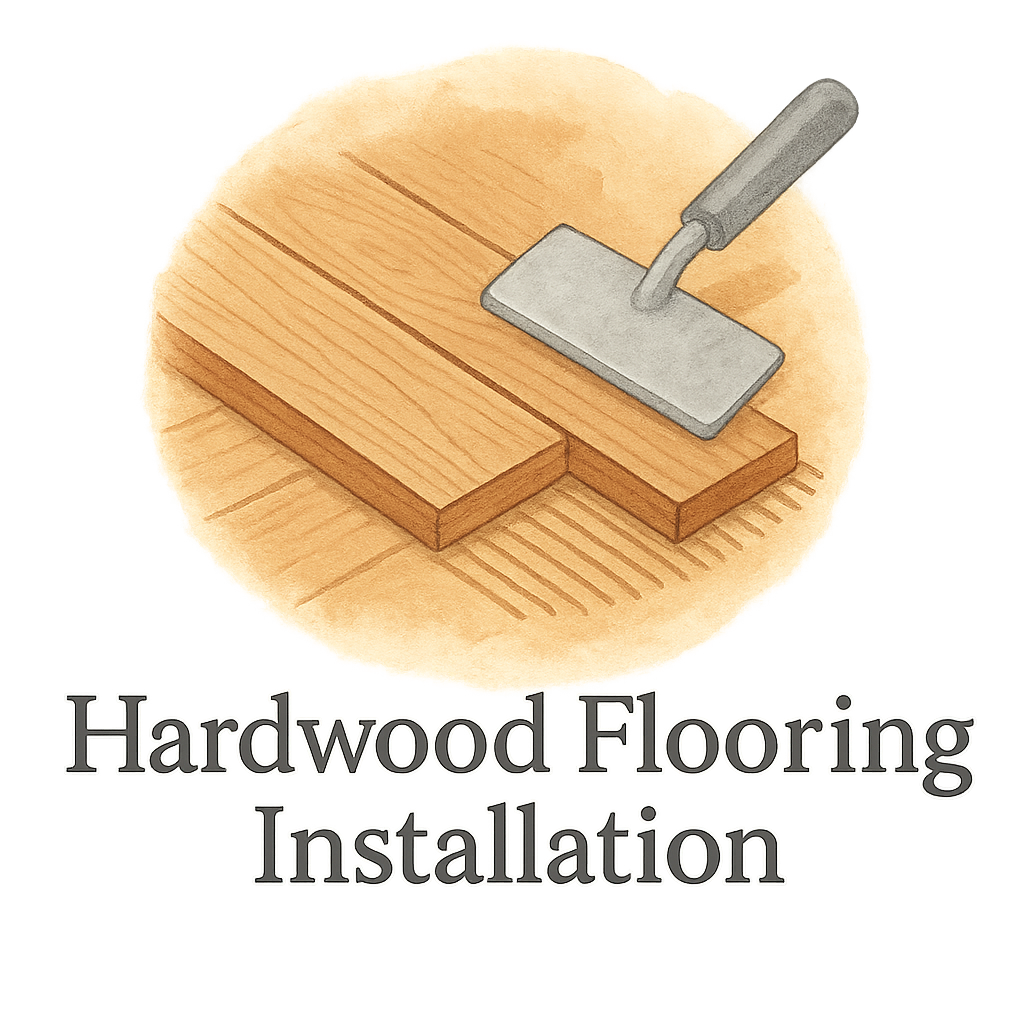

Introduction
So, you’re ready to lay down some beautiful hardwood flooring? Awesome choice! But before you even think about installing, let’s talk prep work. Skipping or messing up the prep is like building a house without a foundation—it’s just not going to end well. In this guide, we’ll dive into the 5 common mistakes in flooring prep before hardwood installation—and how to avoid them like a pro.
Good prep makes all the difference between floors that last decades and those that creak, warp, or worse within months.
Why Proper Flooring Prep Matters
Prepping your floor before installation isn’t just a suggestion—it’s essential. Proper prep helps:
- Extend your flooring’s life
- Prevent moisture and damage issues
- Improve installation quality
- Save you $$$ on repairs later
If you’re serious about a job well done, check out this full flooring preparation guide.
Mistake #1: Skipping Moisture Testing
Why Moisture Matters
Moisture is a silent floor killer. Even a small amount can cause warping, cupping, or mold—especially with hardwood.
Imagine spending thousands on hardwood only to have it bubble up after a rainy week. Yikes!
How to Properly Test for Moisture
You’ll want to test both your subfloor and the hardwood itself. This ensures compatibility and avoids later expansion or contraction issues.
Best Tools for Moisture Testing
- Moisture meters (pin or pinless)
- Hygrometers for room humidity
- Calcium chloride tests (for concrete subfloors)
Make this step part of your routine or consult our guide to flooring tools and materials.
Mistake #2: Ignoring Subfloor Issues
Uneven Surfaces Spell Trouble
A subfloor that’s bumpy, cracked, or loose? That’s a recipe for squeaky, uneven flooring.
Identifying and Fixing Subfloor Problems
Before you install, walk across the room and listen for creaks. Check for dips or raised spots. Use a level across the floor. If you spot issues, sand high points, fill low ones, or replace damaged panels.
This step is also covered in our DIY flooring installation guide—highly recommended if you’re going the DIY route.
Mistake #3: Not Letting the Hardwood Acclimate
What is Acclimation?
Hardwood is a natural material. It expands and contracts based on the room’s humidity. If it’s not allowed to adjust (aka acclimate) before installation, it’ll move after it’s nailed down—and not in a good way.
The Right Way to Acclimate Hardwood
Bring the flooring into the room it’ll be installed in and leave it for at least 3–7 days. Keep the boxes open and boards spread out for airflow. Don’t skip this—it’s your floor’s adjustment period!
Read more on installation tips and mistakes.

Mistake #4: Using the Wrong Underlayment
Choosing the Right Underlayment for Hardwood
Not all underlayments are created equal. For hardwood, you need moisture protection and sound reduction.
Some popular options include:
- Felt underlayment
- Foam with vapor barriers
- Rubber for high-traffic areas
Common Underlayment Errors to Avoid
- Skipping it entirely
- Choosing carpet padding (never do this!)
- Not sealing seams
Choosing wisely can prevent moisture buildup and provide stability. Visit our underlayment tag for expert advice.
Mistake #5: Poor Cleaning and Debris Removal
Why Clean Surfaces Are Critical
A dirty floor base is a bumpy floor waiting to happen. Dust, nails, or debris will affect how well the boards lay and connect.
Tips for Effective Cleaning Before Installation
- Sweep and vacuum thoroughly
- Mop using minimal water (remember moisture!)
- Double-check corners and edges
For more, head over to our flooring maintenance and repair guide to learn how to keep things tidy even post-install.
How to Prepare Like a Pro
Use a Detailed Prep Checklist
Write down every step—moisture check, subfloor repair, cleaning, acclimation, underlayment. Tick them off as you go. This keeps you on track and reduces stress.
Hire or Consult with Experts When Needed
DIY is great, but some jobs need pros. Visit flooring contractor Plan of BS to find qualified flooring experts or helpful guides for self-installation.
Related Resources to Dive Deeper
Want to go beyond prep? Check out:
- DIY Flooring Installation
- Cost & Time Estimation
- Best Flooring Layout Tips
- Flooring Patterns You’ll Love
- Top Flooring FAQs
Conclusion
Let’s be honest—flooring prep isn’t glamorous, but it’s absolutely essential. Avoiding these 5 common mistakes can be the difference between flawless floors and expensive regrets. Whether you’re going full DIY or hiring a pro, prep smart, and you’ll thank yourself for years.
Oh, and don’t forget—Plan of BS has your back with everything from materials to expert advice. Bookmark it!
FAQs
1. What happens if I skip moisture testing before hardwood installation?
You risk floor buckling, warping, or mold. Moisture is one of the top silent killers for hardwood flooring.
2. How do I know if my subfloor is even enough?
Use a long level or straight edge. If you see gaps or rocking, that area needs sanding or filling.
3. Can I install hardwood the same day it’s delivered?
Nope! Let it acclimate for at least 3–7 days in the room it’ll be installed in.
4. Do I need underlayment for hardwood on concrete?
Yes! Always use a moisture barrier plus padding. It helps with both insulation and longevity.
5. Can I use the same underlayment for all flooring types?
No. Each material—hardwood, laminate, vinyl—has specific underlayment requirements.
6. Is cleaning the subfloor really that important?
Absolutely. Even small debris can cause unevenness and installation issues.
7. Where can I find a full flooring prep checklist?
Right here: Flooring Prep Guide has everything you need step-by-step.